

Ju-lyin with more Ollas
Last month
In my previous email newsletter, I introduced you to “olla pots.” This ancient watering technique dates back some 4000 years to North Africa and China, link. There are several DIY versions that you can try and even some pre-fab window ledge versions, here.

If you need instruction on building your own olla from a flower pot, click here link.
I even tried several DIY versions in my own garden beds and in a few above ground pots just to see how the ollas would work to combat “The Great Browning” that happens each summer.
My Yard
Here are some things you need to know about my studio-garden growing area: It’s all calcareous clay, in an area known for its wild grasslands and cedar scrub forests, soil map of texas

Plus due to my growing elevation 830’ above sea level link, and some home builder’s worst practices, I don’t have much for topsoil. In fact, if I dig deeper than 10-14 inches I can hit solid limestone.
All this to say, that water doesn’t easily absorb into my soil. So the idea of storing water in the soil with olla pots sounded like a dream come true. And so I began the process of testing out some of the concepts in dripline olla watering. I tried several different locations throughout my growing areas, from deep shade to full sun.
Initial Olla Tests

One of my first olla tests is at the farthest point from any watering spigots. This site is frequently brown by mid-May and any plants that I have tried to in this space have died by July. This is where I wanted to try an olla first. Under the middle of this circle is a 10” terracotta pot turned into a subterranean aquifer. In all the places I’ve lived in, Dallas has been one of my most challenging to grow successful lush plants in.

When I first installed this olla (nearly holds 2 liters), it drained slowly but consistently. But the olla seemed to drain quite a bit each day. So I thought maybe a leaked had developed. But after the first two weeks of topping it off every day, I noticed that the drainage rate was beginning to slow down and the plants around the olla were starting to show new growth. I was surprised by this because I have a rule about not planting after May, due to the increase of stress purely from the heat.
Because I could remember their names, these are the plants that I transplanted around this olla hot spot.
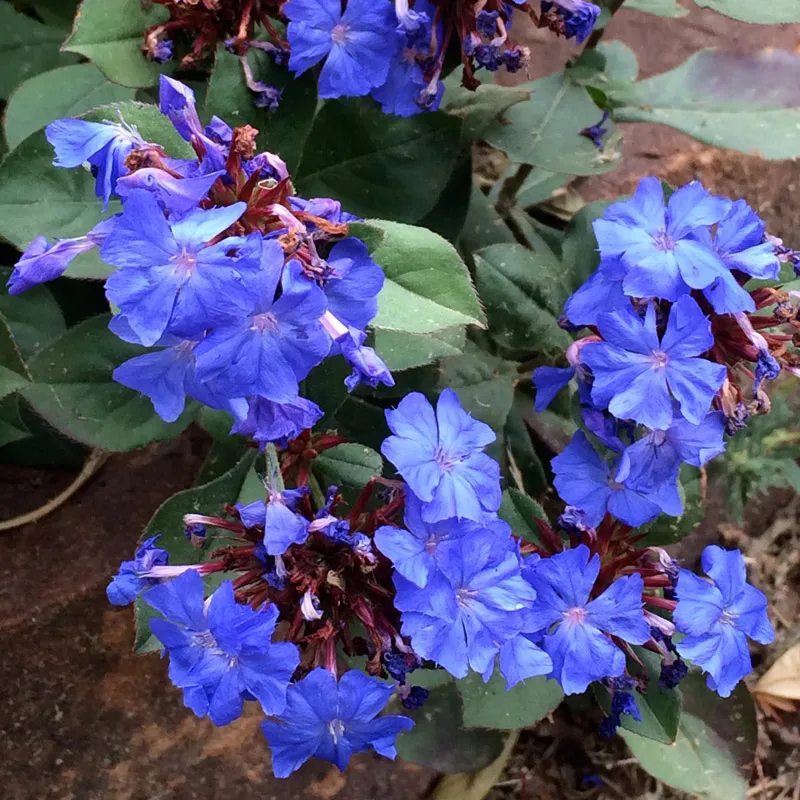
| Hardy Plumbago | Ceratostigma plumbaginoides | https://www.highcountrygardens.com/perennial-plants/unique-plants/ceratostigma-plumbaginoides |
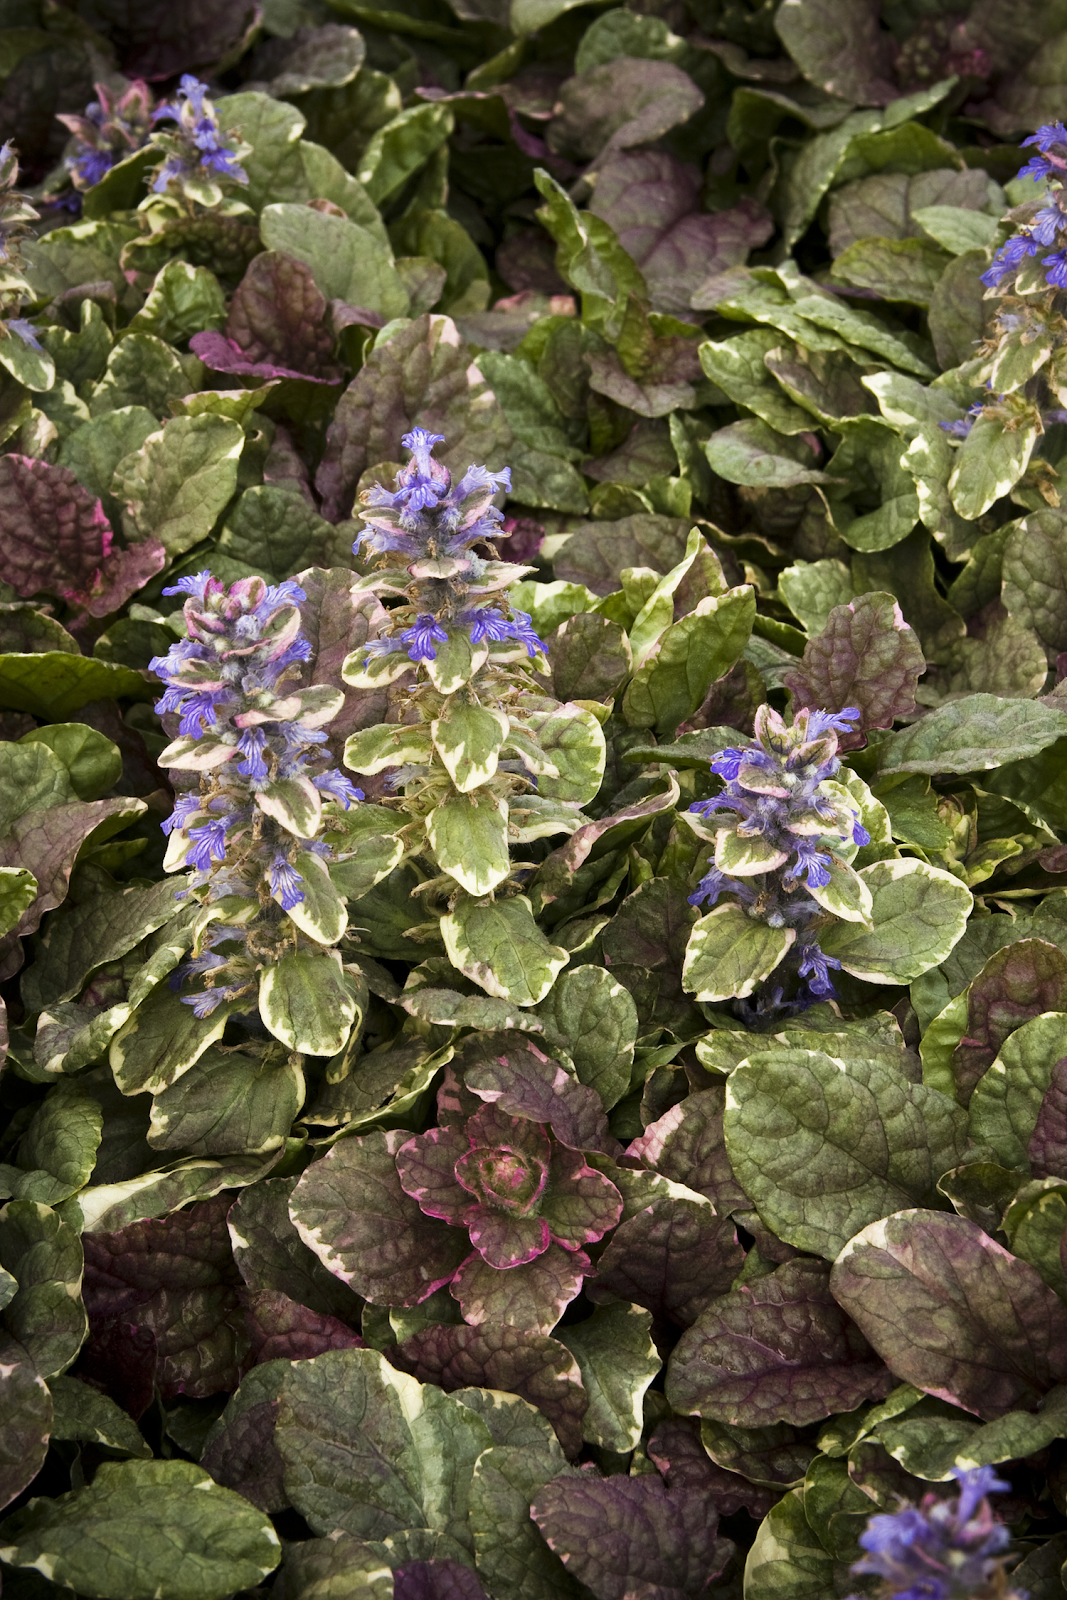
| Burgundy Glow Carpet Bugle | Ajuga reptans ‘Burgundy Glow’ | https://www.monrovia.com/plant-catalog/plants/23/burgundy-glow-carpet-bugle/ |
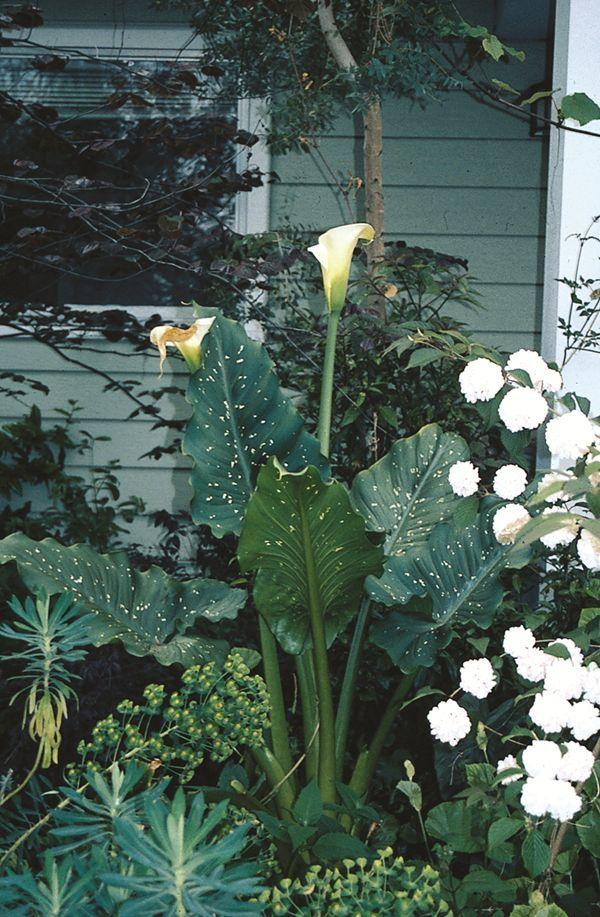
| White Giant Calla Lily | Zantedeschia aethiopica | https://www.plantdelights.com/products/zantedeschia-aethiopica-white-giant |
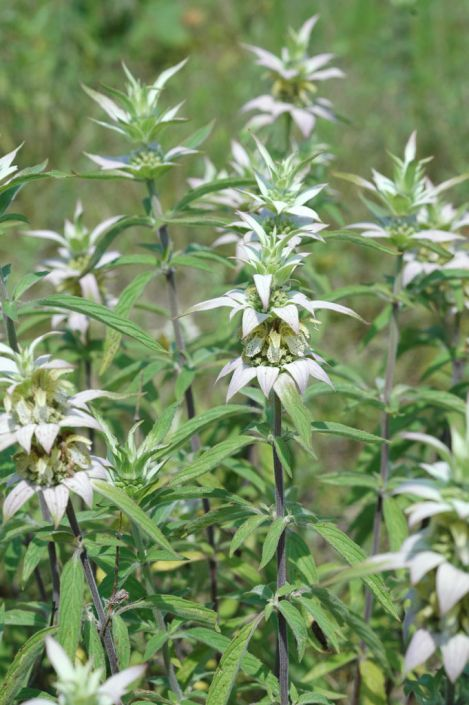
| Spotted Bee Balm | Monarda punctata | https://www.prairiemoon.com/monarda-punctata-spotted-bee-balm-prairie-moon-nursery.html |

| And a small clump of misidentified penstemon from a local garden store. | *Penstemon digitalis | https://www.monrovia.com/plant-catalog/plants/1927/husker-red-penstemon/ |
But this wasn’t the only spot that I tried ollas.
Other Olla tests

I also tried a DIY olla in a shallow pot that had been growing succulents. I thought that this would be a good test for you admirable plant lovers who grow on window ledges or apartment patios. The plants that I transplanted into this pot and olla are nearly identical to the previous list minus the giant calla lily. growers. After the 2-3 week training period of remembering where I put the tiny funnel to fill up the olla, in addition to remembering to fill the olla up with water every day, the plants started to recover and put out some new leaves.
Overall
Overall these ollas have pleased me. I plan on adding a few more to my already existing above ground planters and patio pots.
At the moment. I’m working out a way to add a series of smaller ollas into my existing beds and have the ollas all connected to one 5 gallon bucket. That way I can fill up the one bucket up, and that bucket will pass water out through the drip line, into the ollas. Wish me luck!